| [](https://class.illogic.games/uploads/images/gallery/2026-06/KRJimage.png)
こうなるように:
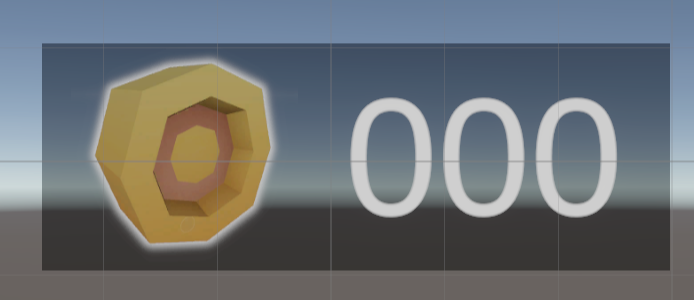
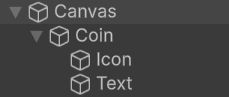
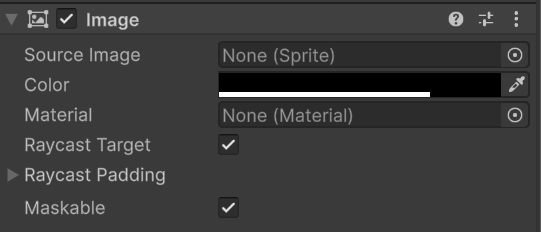
| - Coin:Image(画像)にし、背景は半透明の黒にする。この「部品」が画面の右上に表示されるので、アンカーポイントが右上にしてください。
- Icon:Image(画像)にし、コインのアイコンにする

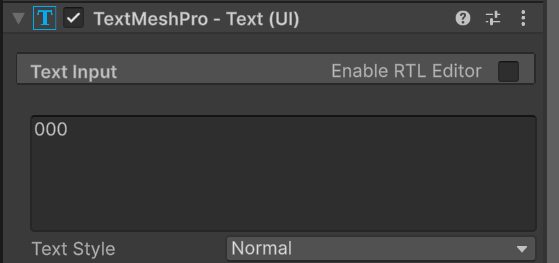
- Text:TextMeshPro にし、000 ので始まるようにする
|